How to remove a printer and its drivers from Windows Vista and 7
Removing a printer
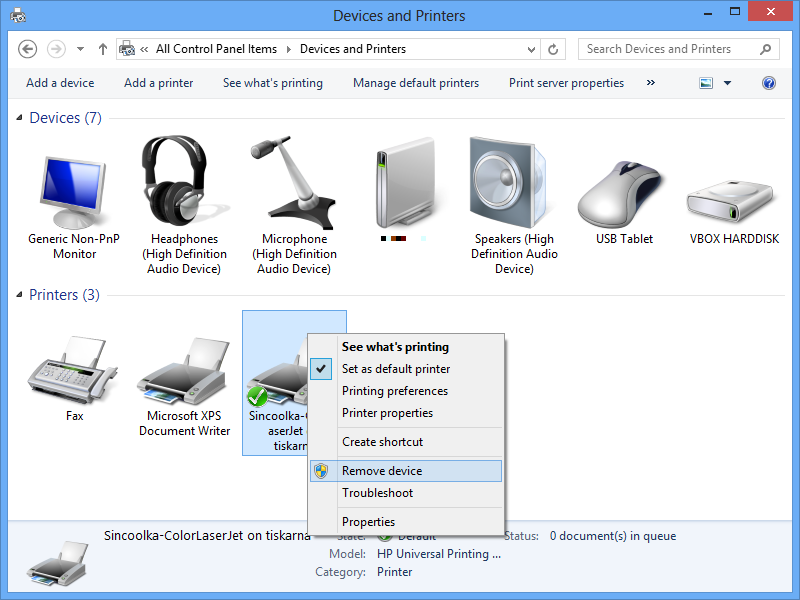
Open Devices and printers, select the printer you want to remove and click on Remove device.
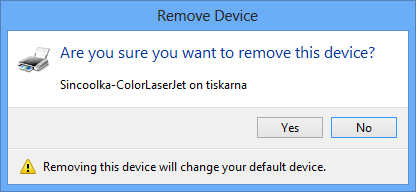
You will need to confirm it by clicking on the button Yes.
Removing drivers
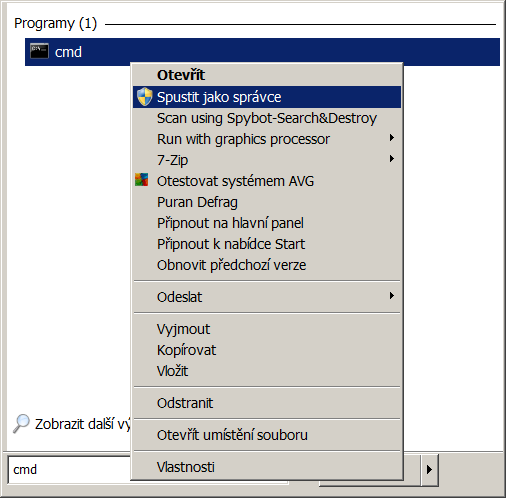
Open Start, write cmd, click with right mouse button to the found program and choose Run as administrator (we apologize for the czech screenshot here].
Write printui /s /t2 into the command line and press Enter.
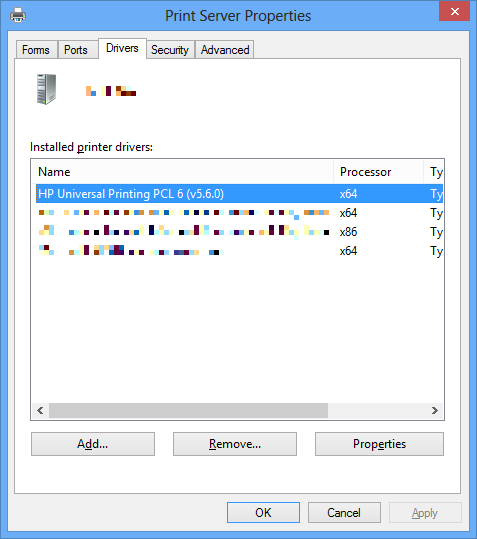
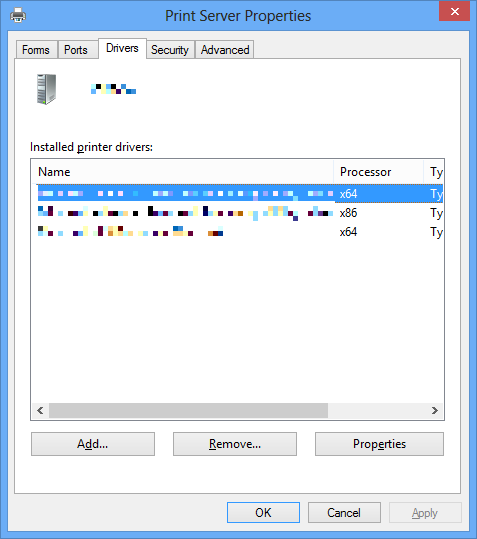
Select the driver you want to remove and click on the button Remove…
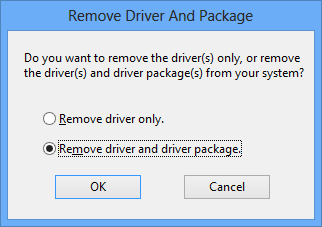
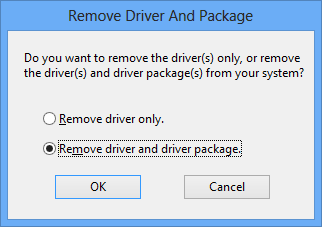
If you have installed your driver from a standalone installator, we recommend you to Remove driver and driver package. If you have simply selected the driver from a list offered by Windows when installing the printer, we recommend you to Remove driver only.
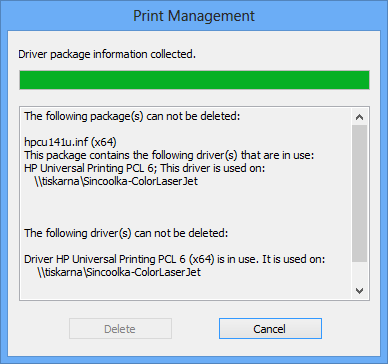
If you are trying to remove the driver without removing the printer beforehand, or the driver is used also by another printer than the one you removed, the system won't allow you to remove the driver.
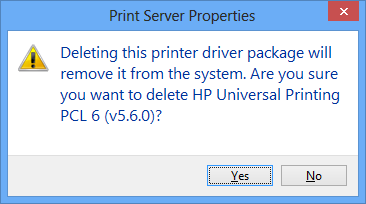
If you resolved the previous problem or you haven't encountered it, you will be prompted to confirm your action when proceeding with Remove driver and driver package (or Remove driver only).
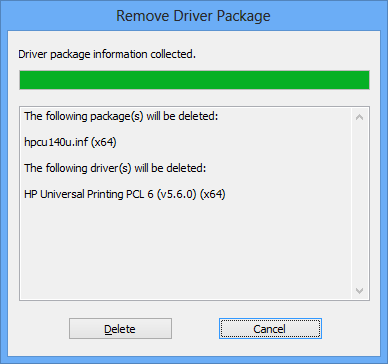
If you click on Yes, system will show you which packages and drivers will be deleted.
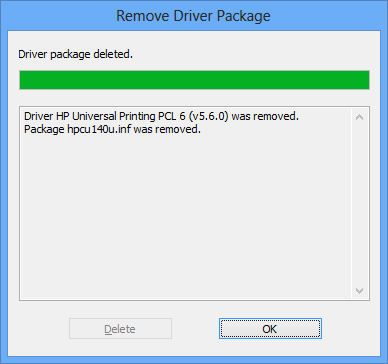
After you click on the button Delete, the packages and drivers will be erased from the system. By clicking on the button OK on the summary window, the process of removing drivers will be finished.
If you removed all drivers you wanted, close the Print Server Properties window by clicking on the button OK.
Now, you can close the Command Prompt by writting exit and pressing Enter.
